 Vivek Saini

Blisters are a rite of passage for most trekkers, but they really don’t have to be.
From your very first hill walk to that 6-day Himalayan trek, a small hotspot can quickly become the thing that ruins your entire experience. The good news? With a little know-how and some quick action, you can keep your feet pain-free and moving strong.
Here’s your complete guide to blister prevention and care, trail-tested and trekker-approved.
What Causes Blisters?
Blisters are essentially your skin saying: "Something’s not right here."
They’re usually caused by a combination of:
-Friction (your sock or boot rubbing in one place).
-Pressure (tight spots or uneven lacing), and
-Moisture (sweat, stream crossings, or wet socks).
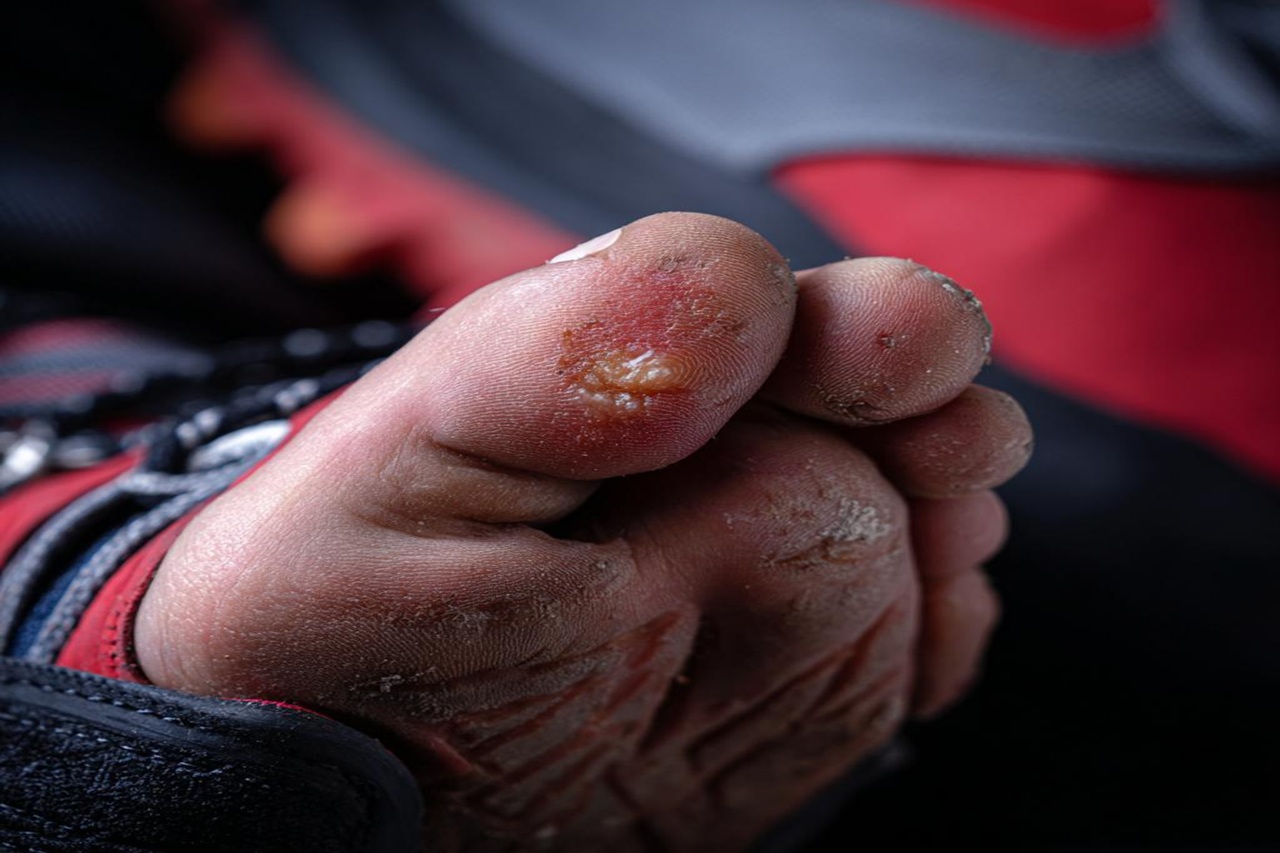
All three soften the skin, making it vulnerable to damage. When the top layer of skin separates from the layer underneath, fluid fills the gap, and you’ve got a blister.
How to Prevent Blisters on a Trek?
Get Your Footwear Right.
Your boots should fit snugly but not tightly, with room for your toes to wiggle. Break them in before your trek. Never wear brand-new shoes on Day 1.
Sock Strategy Matters.
-Ditch cotton. Go for wool or synthetic socks that wick away sweat.
-Try a liner sock underneath your main socks. They reduce friction and help with moisture control.
-Carry spare dry socks and change them mid-day on longer walks.
-You also get anti blister socks in stores.
Tape Before it forms.
If you know where your blisters usually form (like the heel or side of your big toe), pre-tape that spot before you start walking. Kinesiology tape or even simple paper tape can work wonders.
Act the Moment You Feel a “Hotspot.”
That faint rubbing sensation? That’s your early warning. Stop, remove your shoes, dry your feet, and tape the area before it turns into something worse.

How to Treat a Blister on the Trail
Caught it too late? Don’t panic. Here’s what to do:
If the blister is intact and small:
-Apply a blister pad (like Paper tape/doctors tape), more like a 2nd skin.
-Use donut-shaped Molefoam or moleskin or a corn tape(available in medical stores) on the area to cushion the area and avoid further rubbing.
If the blister is large or painful:
If it’s too painful to walk and you must drain it:
-Wash your hands and the area.
-Sterilise a needle with a flame or alcohol.
-Poke a small hole at the base. Drain the fluid, but leave the skin flap intact.
-Apply antibiotic ointment.
-Cover with gauze, a blister pad, and tape securely.
-Use donut padding around it to reduce pressure.
Note: Only do this in a relatively clean environment. If you’re on a long trek without proper hygiene, it’s better to protect it and let it be.

Blister care kit

When to Worry
If the blister area becomes red, increasingly painful, warm, or starts producing pus it may be infected. If you notice red streaks running from the blister toward your leg, stop and get medical help as soon as possible. Infections in the mountains are serious business.
Bonus Tips
-Pack a small blister care kit with you: tape, antiseptic wipes, a needle, a pair of tweezers, antibiotic cream, and pre-cut foam tape.
-Trim your toenails before your trek. Long nails can create pressure and cause bruising or nail-related blisters.
-Don’t ignore sock wrinkles. It seems small, but it can mess you up over a 10km day.
Blisters may be small, but they teach a big lesson: Listen to your body early.
On a trek, comfort isn’t a luxury. It’s how you keep going.
So the next time your heel whispers, "Hey, something's up," don’t wait for it to start shouting. Treat it.